Adding a Display Board: ArcArmy Challenge
- HobbyCrusAider

- Feb 16, 2023
- 3 min read
Updated: Mar 26, 2023
Hey there! It's been an exciting journey as I've showcased the preparations for the ArcArmy Challenge. I've tried to be organized and logical, focusing on the different units and challenges along the way.

But as we get closer to the event, things are starting to get a bit hectic. With closer to 2 weeks to go, I'm wrapping up the final details and making sure everything is ready to go.
You might remember I had 12 models left to paint to complete my army. I was able to work on and quickly finish the Kahl this week - having practiced his colour scheme - particularly the mmm gold having done several unit champions across the army.
But apart from the now 11 models to paint, there's actually one more thing I need to feel fully ArcReady – a display board to present my army on!
So I had to get that started. First I wanted to replicate the theme of all the bases I’d designed and 3D printed base toppers for all the models in the army - Asteroid/moonbase. They all have meteor craters pock marking the surface. And I wanted a source of the red glowing lighting effect that is in place on the right side of models across the entire force.
The other important factor in building boards is that they must be able to travel, and fit packed down to fit in a suitcase!
Step number one in designing a display board is to make sure it all fits. That’s an easy task really as I had the entire army built. I decided that some High Density Foam would be the best material to make the board.
I had a large sheet of foam - 2 foot wide which is a great size. I then put every model out ontop of the sheet to work out the optimum depth, which proved to be 15”in length.
High Density foam is great for taking impressions and carving.

Once the general position of each model was worked out i got matching bases to those of the models and pushed them into the foam. This gave me and outline of each and every model. On the larger bases I used a knife to define the outline.
The next step was to push down the inside of each and every space where a model would sit. I grabbed some different sized tools to push down the foam inside the depressions created by the bases. Thumbs and fingers do an excellent job. On some of the larger holes I used a blade to help create the right depth to the depression.
Then I found a whole load of different paint brushes. Turning them upside down i used the rounded bottom of these brushes to stamp out all the craters across the expanse of the foam display board.
After that the next stage was to put texture and seal the foam. Texture paint, sand, slate, pva glue and paint all mixed together to provide a sealant layer to the board.
Then, just like the bases it was a combination of spray paint, dry brushing to create the varieous layers of paint needed to blend the base with the models being displayed on it.
The production line of models saw me also complete my other Character - the Eyrnheart champion. I replicated the colours or the Khal and the Eyrn hearth Warriors.
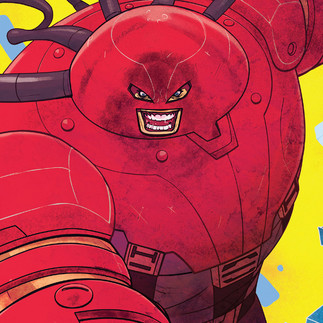
I modified a covered helmet from the Eyrn Hearth guard as he looks a bit like a certain Marvel Character.
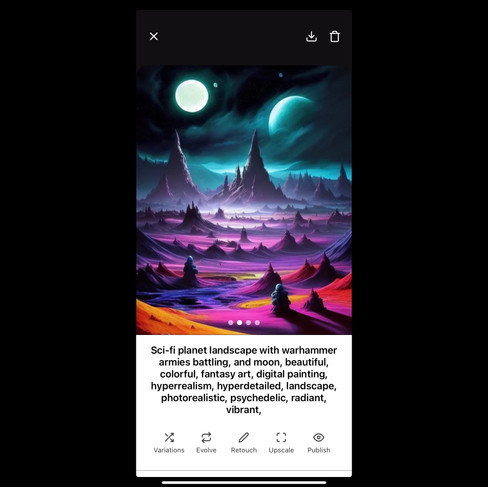
Oh and for the display base I discovered Ai! I installed Starryyai off the AppStore. Put together some words that I felt described what I wanted to see…
It created an awesome graphic that I’ve sent off to be printed on foam core board. It’s pretty much the same process I used last year to create a backing board for my Tauformers display board. It’s lightweight and can travel. Can’t wait to see this one land.
So what’s the state of play? There’s 10 models to paint, the backing board to arrive and I think the edges of some bases to get a grey finish that will help the whole army merge better with the army and the display board.


















Comments